
Introduction
Stained glass cookies are not just a delightful treat; they are a visual feast that brings joy to both bakers and eaters alike. With their vibrant colors and intricate designs, these cookies can elevate any gathering, making them a perfect addition to celebrations, parties, or simply a cozy afternoon at home. Imagine biting into a buttery cookie only to discover a burst of sweetness from the melted candy center—it’s a magical experience that combines creativity with flavor.
Creating these cookies allows you to unleash your inner artist. The process is as enjoyable as the end result, giving you the chance to experiment with different shapes and colors. Are you hosting a birthday party? Consider using cookie cutters that match the theme! Or perhaps you want to brighten up a rainy day? Baking stained glass cookies is a fun activity that can engage the whole family.
In this recipe, we’ll guide you step-by-step to ensure that your stained glass cookies turn out perfectly every time. With simple ingredients and straightforward instructions, even novice bakers can impress their friends and family. Get ready to create a batch of cookies that not only taste delicious but also look stunning on your dessert table. Let’s dive into the world of stained glass cookies and discover how easy it is to bring a splash of color to your baking!
Key Ingredients for Stained Glass Cookies
Unsalted Butter (1 cup)
Unsalted butter is the foundation of flavor and texture in these cookies. It creates a rich, creamy base, ensuring your cookies are tender and melt-in-your-mouth delicious.
Granulated Sugar (1 cup)
Granulated sugar sweetens the cookies while also aiding in the creation of a crisp outer layer. This balance between sweetness and texture is key to a perfect stained glass cookie.
Large Egg (1)
The egg acts as a binding agent, helping to hold the cookie dough together. It also contributes to the cookies’ structure and richness, making each bite satisfying.
Vanilla Extract (1 teaspoon)
Vanilla extract enhances the overall flavor profile of the cookies, adding a warm, aromatic note that complements the sweetness of the sugar beautifully.
All-Purpose Flour (3 cups)
All-purpose flour provides the necessary structure for the cookies. It absorbs moisture and ensures your cookies maintain their shape while baking, creating a sturdy base for the stained glass effect.
Baking Powder (1 teaspoon)
Baking powder acts as a leavening agent, giving the cookies a light, airy texture. It helps them rise slightly, resulting in a delightful bite that isn’t too dense.
Salt (1 teaspoon)
Salt enhances the flavors of the other ingredients, balancing sweetness and bringing out the rich taste of the butter and vanilla.
Crushed Candy (1 cup)
Crushed candy is the star of the stained glass cookies, providing the vibrant colors and sweet flavors that create the beautiful stained glass effect. Experimenting with different types of hard candies can yield unique results, making each batch special.
These key ingredients come together to create stunning stained glass cookies that are as fun to make as they are to eat. Enjoy the process of baking and the vibrant results!

Why You’ll Love This Recipe
Stained glass cookies are a delightful blend of creativity and flavor, making them a fantastic choice for any occasion. These cookies not only provide a sweet treat but also a chance to express your artistic side. Imagine the joy of biting into a cookie that features vibrant, colorful centers that resemble stained glass—it’s a feast for the eyes as much as for the taste buds.
One of the best things about this recipe is its simplicity. With easy-to-follow instructions, even novice bakers can achieve stunning results. The combination of buttery cookie dough and the sweet crunch of hard candy creates a perfect balance of textures that is sure to impress your friends and family. Plus, they’re versatile! You can customize the colors of the candy to match any theme or occasion, making them ideal for birthdays, holidays, or just a fun baking day at home.
Not only are stained glass cookies visually appealing, but they also taste fantastic. The blend of sweet and slightly salty flavors, enhanced by the rich vanilla, creates a cookie that’s hard to resist. Whether enjoyed fresh out of the oven or stored for later, these cookies are sure to bring smiles.
In summary, stained glass cookies are a fun, easy, and delicious treat that everyone will love. They offer a unique way to combine baking and art, making your kitchen the perfect place for creativity and indulgence.
Variations
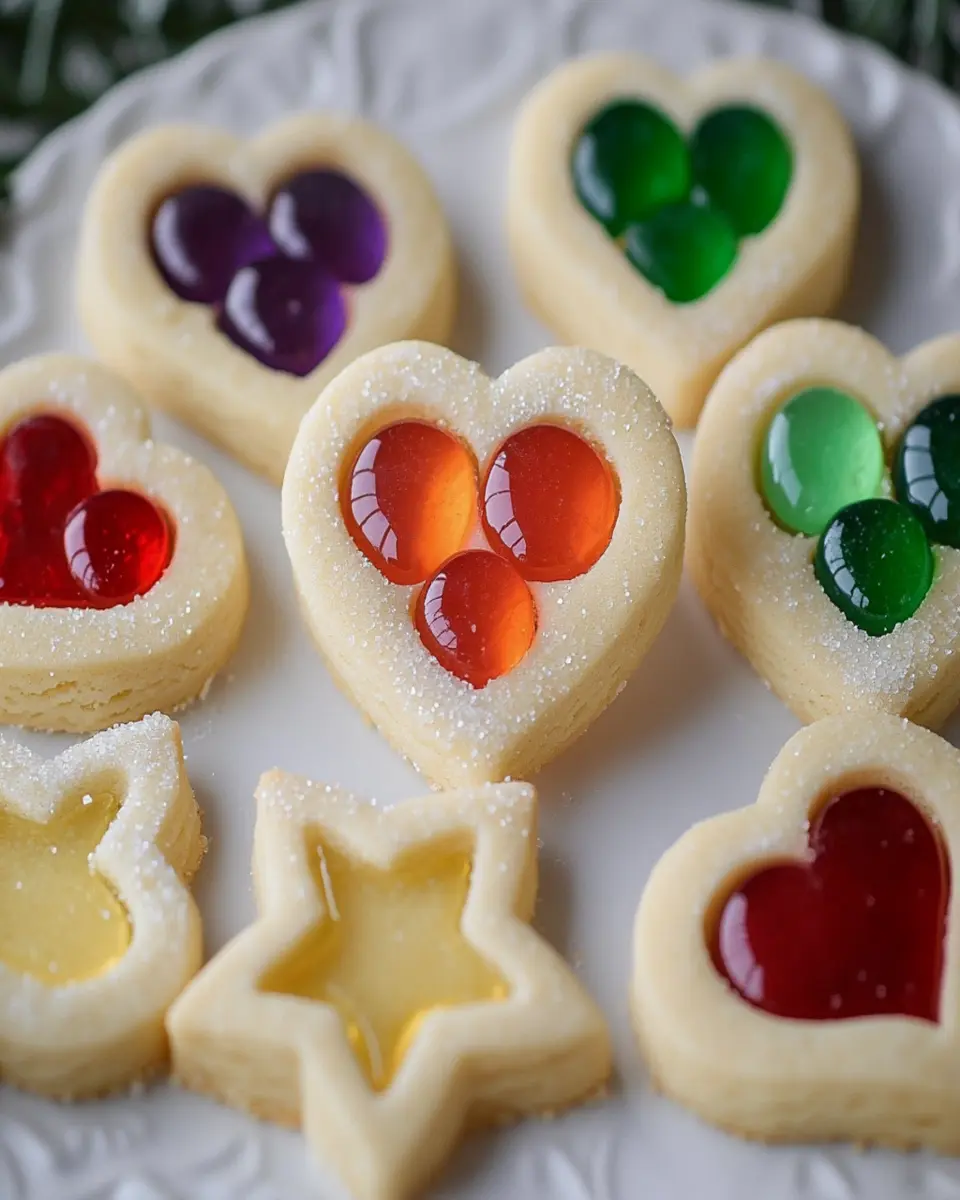
Stained glass cookies are incredibly versatile, allowing you to customize them in various delightful ways. One popular variation is to experiment with different shapes and sizes using cookie cutters. From festive stars and hearts to seasonal trees, you can easily tailor these cookies to suit any occasion or holiday.
Another fun twist is to incorporate flavored hard candies. Instead of traditional fruit flavors, try using peppermint or cinnamon candies for a holiday-themed treat. You can also explore using natural food colorings to achieve unique color combinations that match your personal style.
If you’re looking to add a touch of decadence, consider dipping the edges of the cooled cookies in melted chocolate. This not only enhances the flavor but also adds an elegant finish that’s sure to impress. Additionally, for those who enjoy a bit of crunch, sprinkle crushed nuts or coconut flakes around the edges before baking to create an exciting texture contrast.
With these variations, you can make stained glass cookies that are truly your own, ensuring they are as much a reflection of your personality as they are delicious.

Cooking Tips and Notes
Baking stained glass cookies can be a delightful experience, especially when you know a few tips to enhance your results. First, make sure your butter is at the right temperature. Softer butter will help create a smoother dough, making it easier to roll out and cut into shapes.
Chilling the dough for at least 30 minutes is essential. This step not only helps the cookies maintain their shape during baking but also enhances their flavor. If you’re short on time, you can chill the dough in smaller portions to speed up the process.
Using different types of hard candies can add a unique twist to your cookies. Consider mixing flavors and colors to create a visually stunning and delicious assortment. Just remember to crush the candies into small pieces for even melting. Lastly, keep an eye on your cookies while baking; they can go from perfectly golden to overbaked in just a minute. Enjoy the process of making stained glass cookies and watch as they become a hit at your gatherings!
Serving Suggestions
Stained glass cookies are not only delicious but also visually captivating, making them an ideal treat for various occasions. Serve these cookies at birthday parties, holiday gatherings, or any festive celebration to wow your guests. They can be beautifully displayed on a decorative platter, highlighting their colorful centers, which will surely catch everyone’s eye.
For an added touch, consider pairing these cookies with a warm beverage like hot chocolate or a cup of tea. The sweetness of the cookies complements the warmth of these drinks, creating a delightful experience. You can also package them in clear cellophane bags tied with a ribbon for a charming homemade gift that friends and family will love.
These cookies are perfect for sharing, so feel free to bring a batch to work or a potluck. Everyone will appreciate the effort you put into creating such a unique treat. No matter how you choose to serve them, stained glass cookies are guaranteed to bring smiles and sweeten any occasion!
Time Breakdown
When preparing your stained glass cookies, it’s important to manage your time effectively to ensure a smooth baking experience. Here’s a quick breakdown of the time involved:
Preparation: 30 minutes
Cooking/Baking: 10 minutes
Total: 40 minutes
To save time, consider chilling the dough while you clean up your workspace or prepare your baking sheets. This way, you can streamline the process and enjoy your delicious cookies sooner!
Nutritional Facts
When indulging in stained glass cookies, it’s useful to know their nutritional profile. Each cookie contains approximately 100 calories, making them a sweet treat that won’t completely derail your diet. With 10 grams of sugar and 5 grams of fat per cookie, they offer a satisfying balance of sweetness and richness.
Notably, these cookies have 15 grams of carbohydrates and 1 gram of protein, making them a delightful snack or dessert option. The cookies also contain 50 mg of sodium and 20 mg of cholesterol, so they can be enjoyed as part of a balanced diet. Whether you’re sharing them at a gathering or enjoying them at home, stained glass cookies provide a deliciously colorful experience!
FAQ based on “People Also Ask” section
What are stained glass cookies?
Stained glass cookies are delightful treats that feature colorful, transparent centers made from crushed hard candies. When baked, the candies melt to create a beautiful stained glass effect, making these cookies visually stunning and perfect for any occasion.
How do you store stained glass cookies?
To keep your stained glass cookies fresh, store them in an airtight container at room temperature. They can last up to a week, maintaining their flavor and texture, making them an excellent treat for sharing or enjoying later.
Can I use different flavors of hard candy?
Absolutely! Experimenting with various types of hard candies can lead to unique flavors and vibrant colors for your stained glass cookies. Try mixing fruit-flavored candies or seasonal options for a personalized touch.
Can I freeze stained glass cookies?
Yes, you can freeze stained glass cookies! To do so, place them in a single layer in an airtight container with parchment paper between layers. They can be frozen for up to three months, allowing you to enjoy them later.
Conclusion
Stained glass cookies are not just a treat; they’re a delightful canvas for creativity and flavor. With their vibrant colors and intricate designs, they can brighten any occasion, making them perfect for parties, holidays, or simply as a fun baking project at home.
As you create these cookies, remember that the joy lies in both the process and the result. The combination of buttery dough and colorful candy centers will leave a lasting impression on anyone who tries them. Plus, they’re versatile—experiment with different candy flavors and shapes to make each batch unique.
So, gather your ingredients and start baking your stained glass cookies today! Don’t forget to share your creations with friends and family, or save some for yourself to enjoy throughout the week. Happy baking!
Print
Stained Glass Cookies
- Total Time: 40 minutes
- Yield: 24 cookies 1x
- Diet: Vegetarian
Description
Delicious and visually stunning stained glass cookies that are perfect for any occasion.
Ingredients
- 1 cup unsalted butter, softened
- 1 cup granulated sugar
- 1 large egg
- 1 teaspoon vanilla extract
- 3 cups all-purpose flour
- 1 teaspoon baking powder
- 1 teaspoon salt
- 1 cup crushed candy (various colors)
Instructions
- Preheat the oven to 350°F (175°C).
- In a bowl, cream together the butter and sugar until smooth.
- Add the egg and vanilla extract, mixing until well combined.
- In a separate bowl, whisk together the flour, baking powder, and salt.
- Gradually add the dry ingredients to the wet mixture, mixing until a dough forms.
- Chill the dough for at least 30 minutes.
- Roll out the dough on a floured surface to about 1/4 inch thick.
- Use cookie cutters to cut out shapes and cut out centers for stained glass effect.
- Place on parchment-lined baking sheets and fill the centers with crushed candy.
- Bake for 8-10 minutes or until edges are lightly golden.
- Allow to cool before removing from baking sheets.
Notes
- Try different types of hard candies for various colors and flavors.
- These cookies can be stored in an airtight container for up to a week.
- Prep Time: 30 minutes
- Cook Time: 10 minutes
- Category: Dessert
- Method: Baking
- Cuisine: American
Nutrition
- Serving Size: 1 cookie
- Calories: 100
- Sugar: 10g
- Sodium: 50mg
- Fat: 5g
- Saturated Fat: 3g
- Unsaturated Fat: 2g
- Trans Fat: 0g
- Carbohydrates: 15g
- Fiber: 0g
- Protein: 1g
- Cholesterol: 20mg